
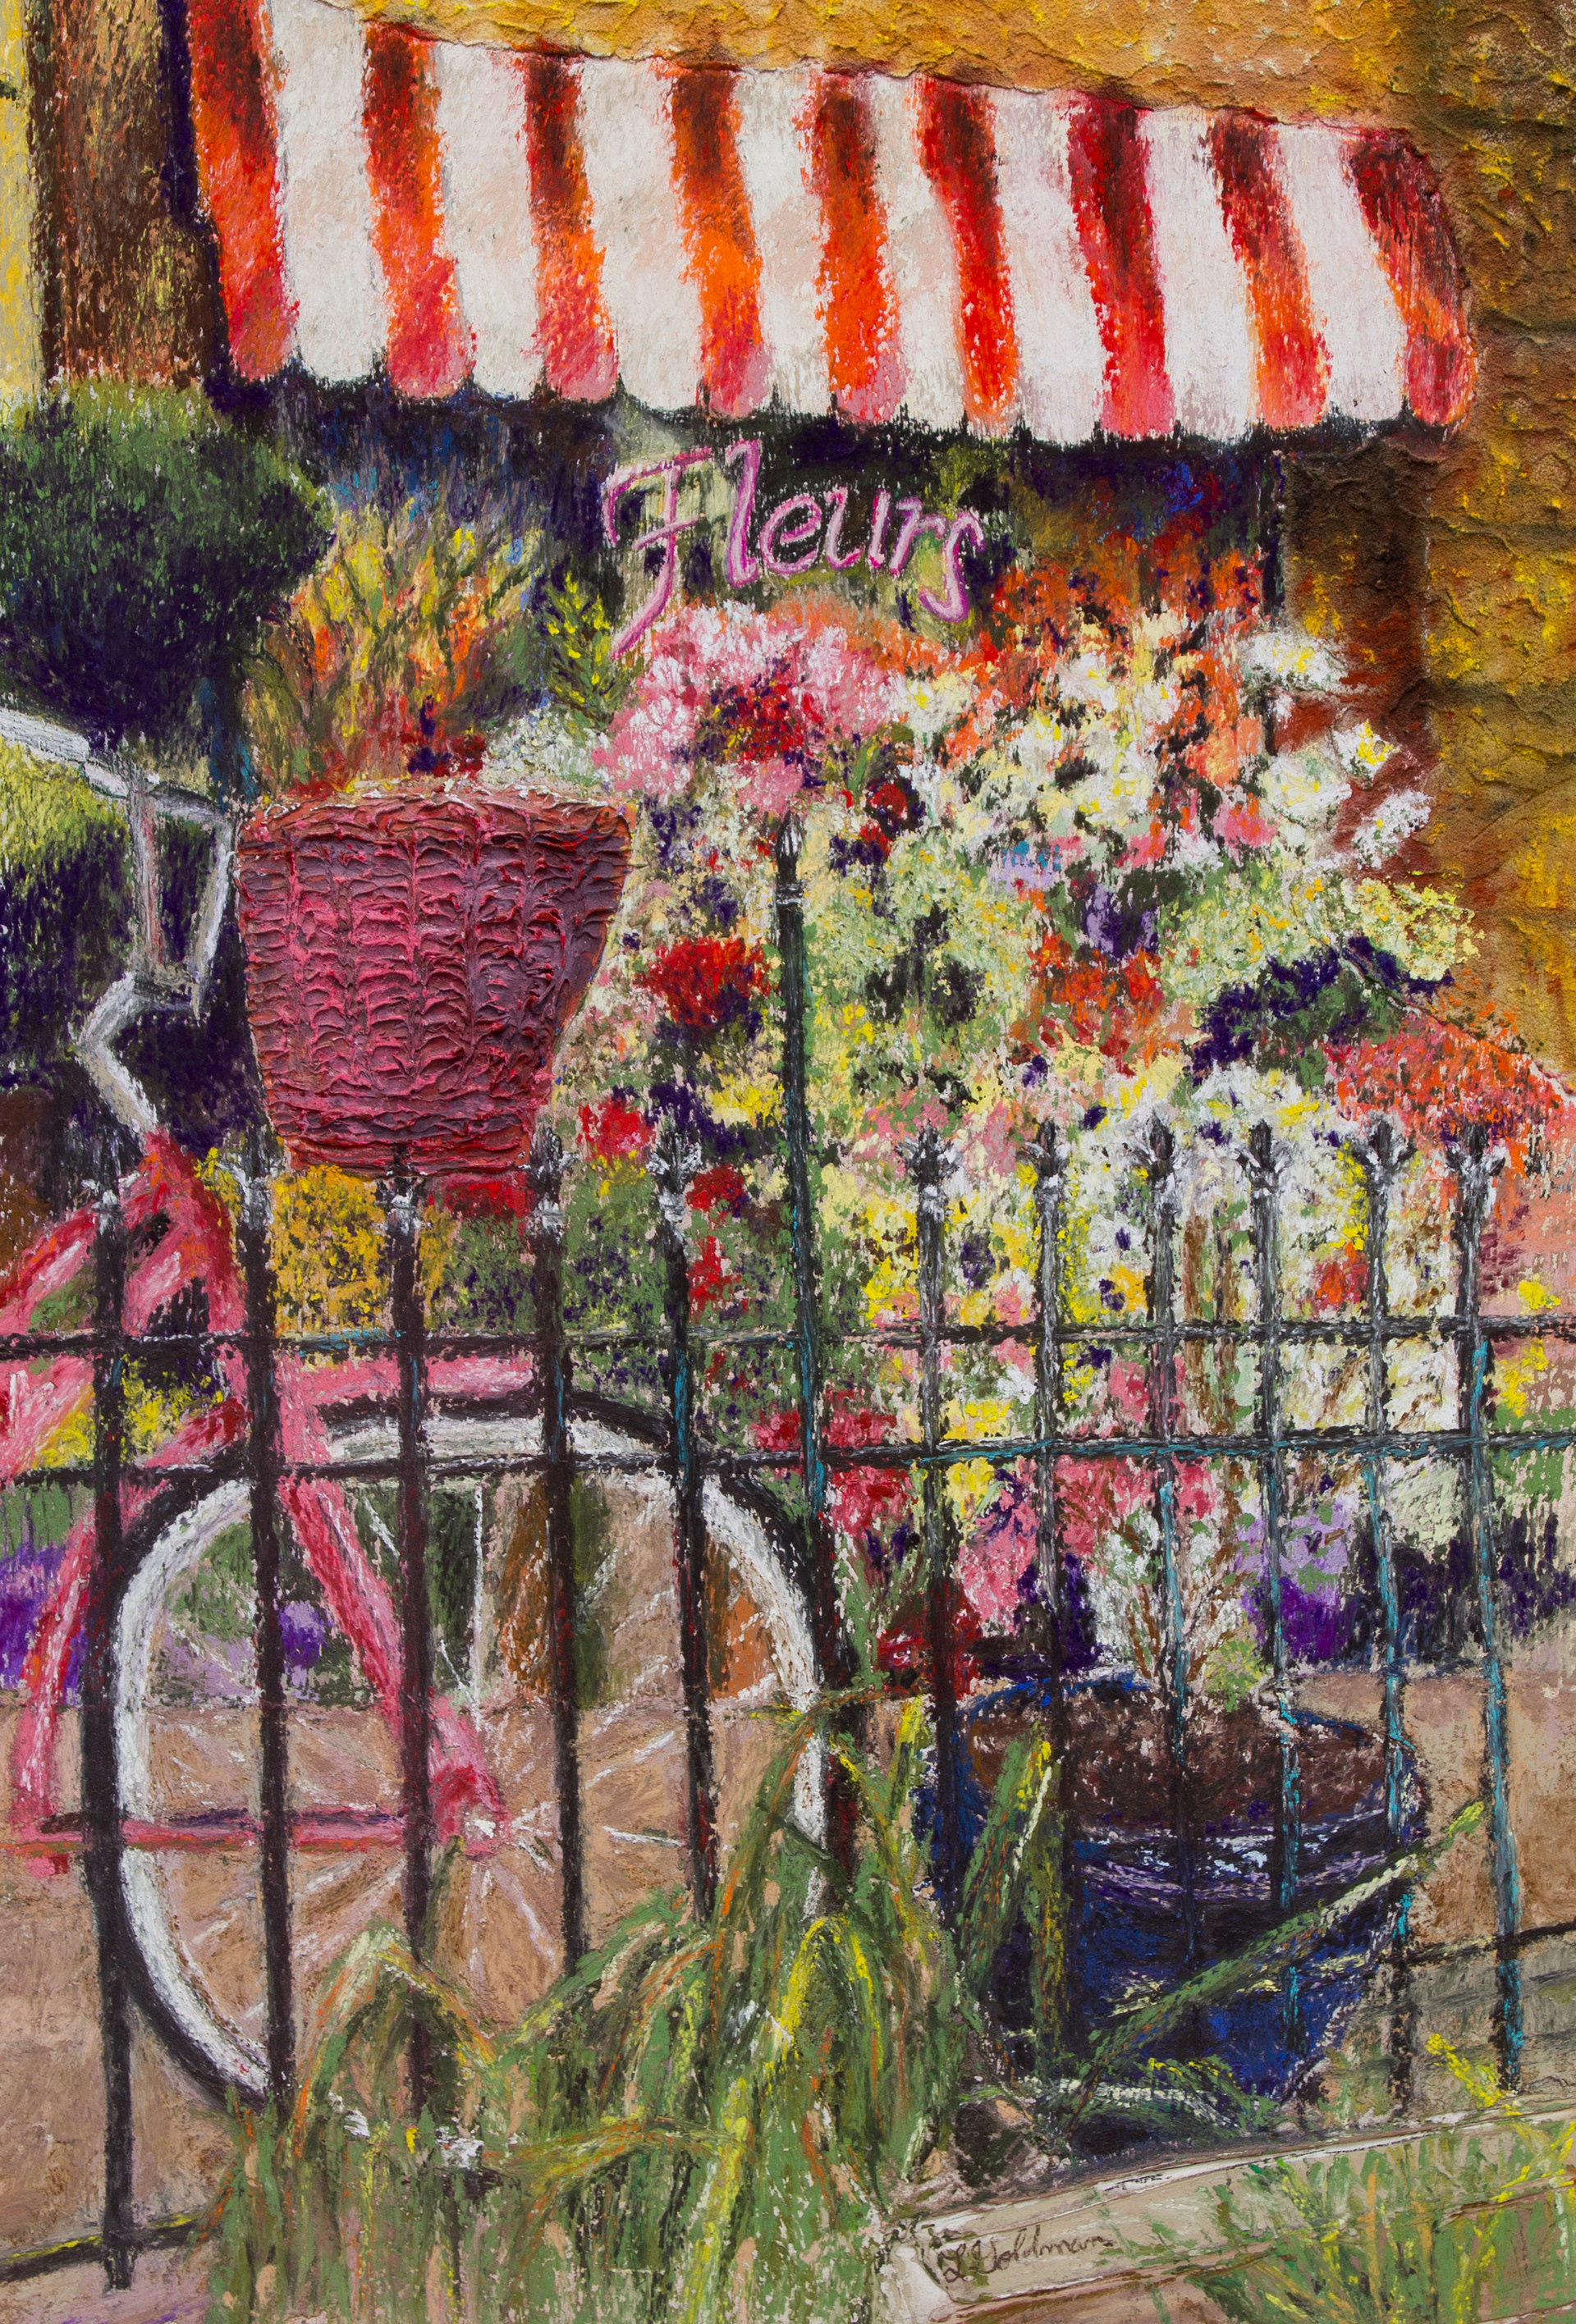

The French Bicycle
I photographed this picture many years ago while visiting a springtime Philadelphia Flower Show and realized I had something extra-visual in mind at my easel. The composition was working, but I wanted more than just creating layers of pastel. So, with years of pastel confidence and many watched YouTube videos behind me, my new, baby steps, self-art challenge went like this:
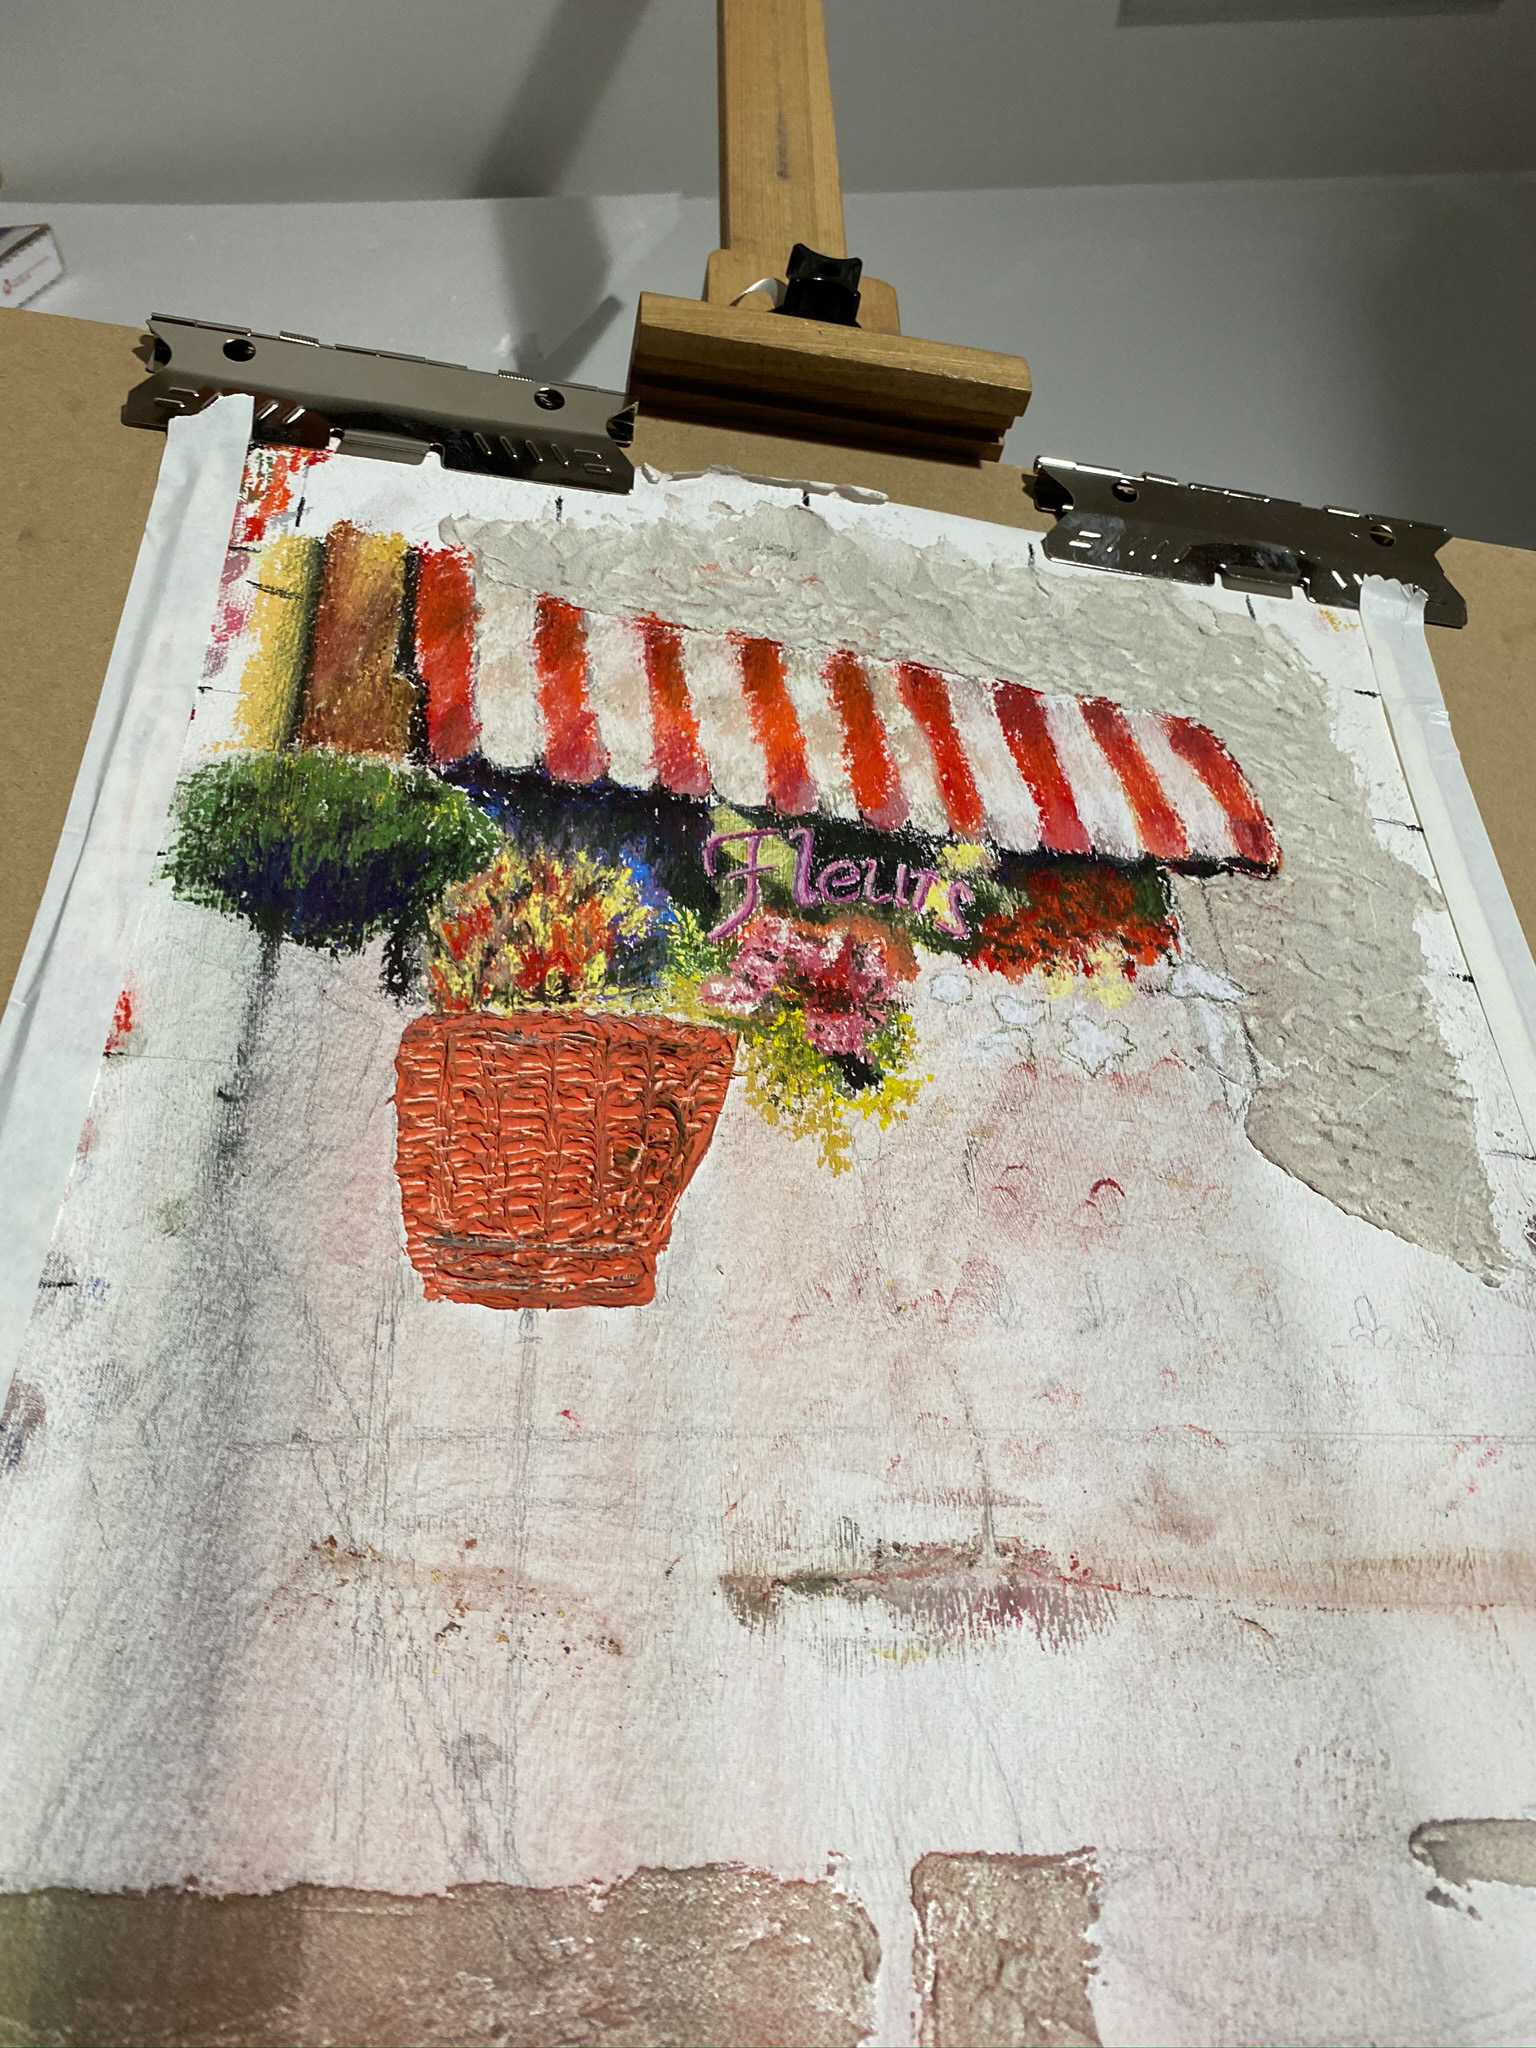
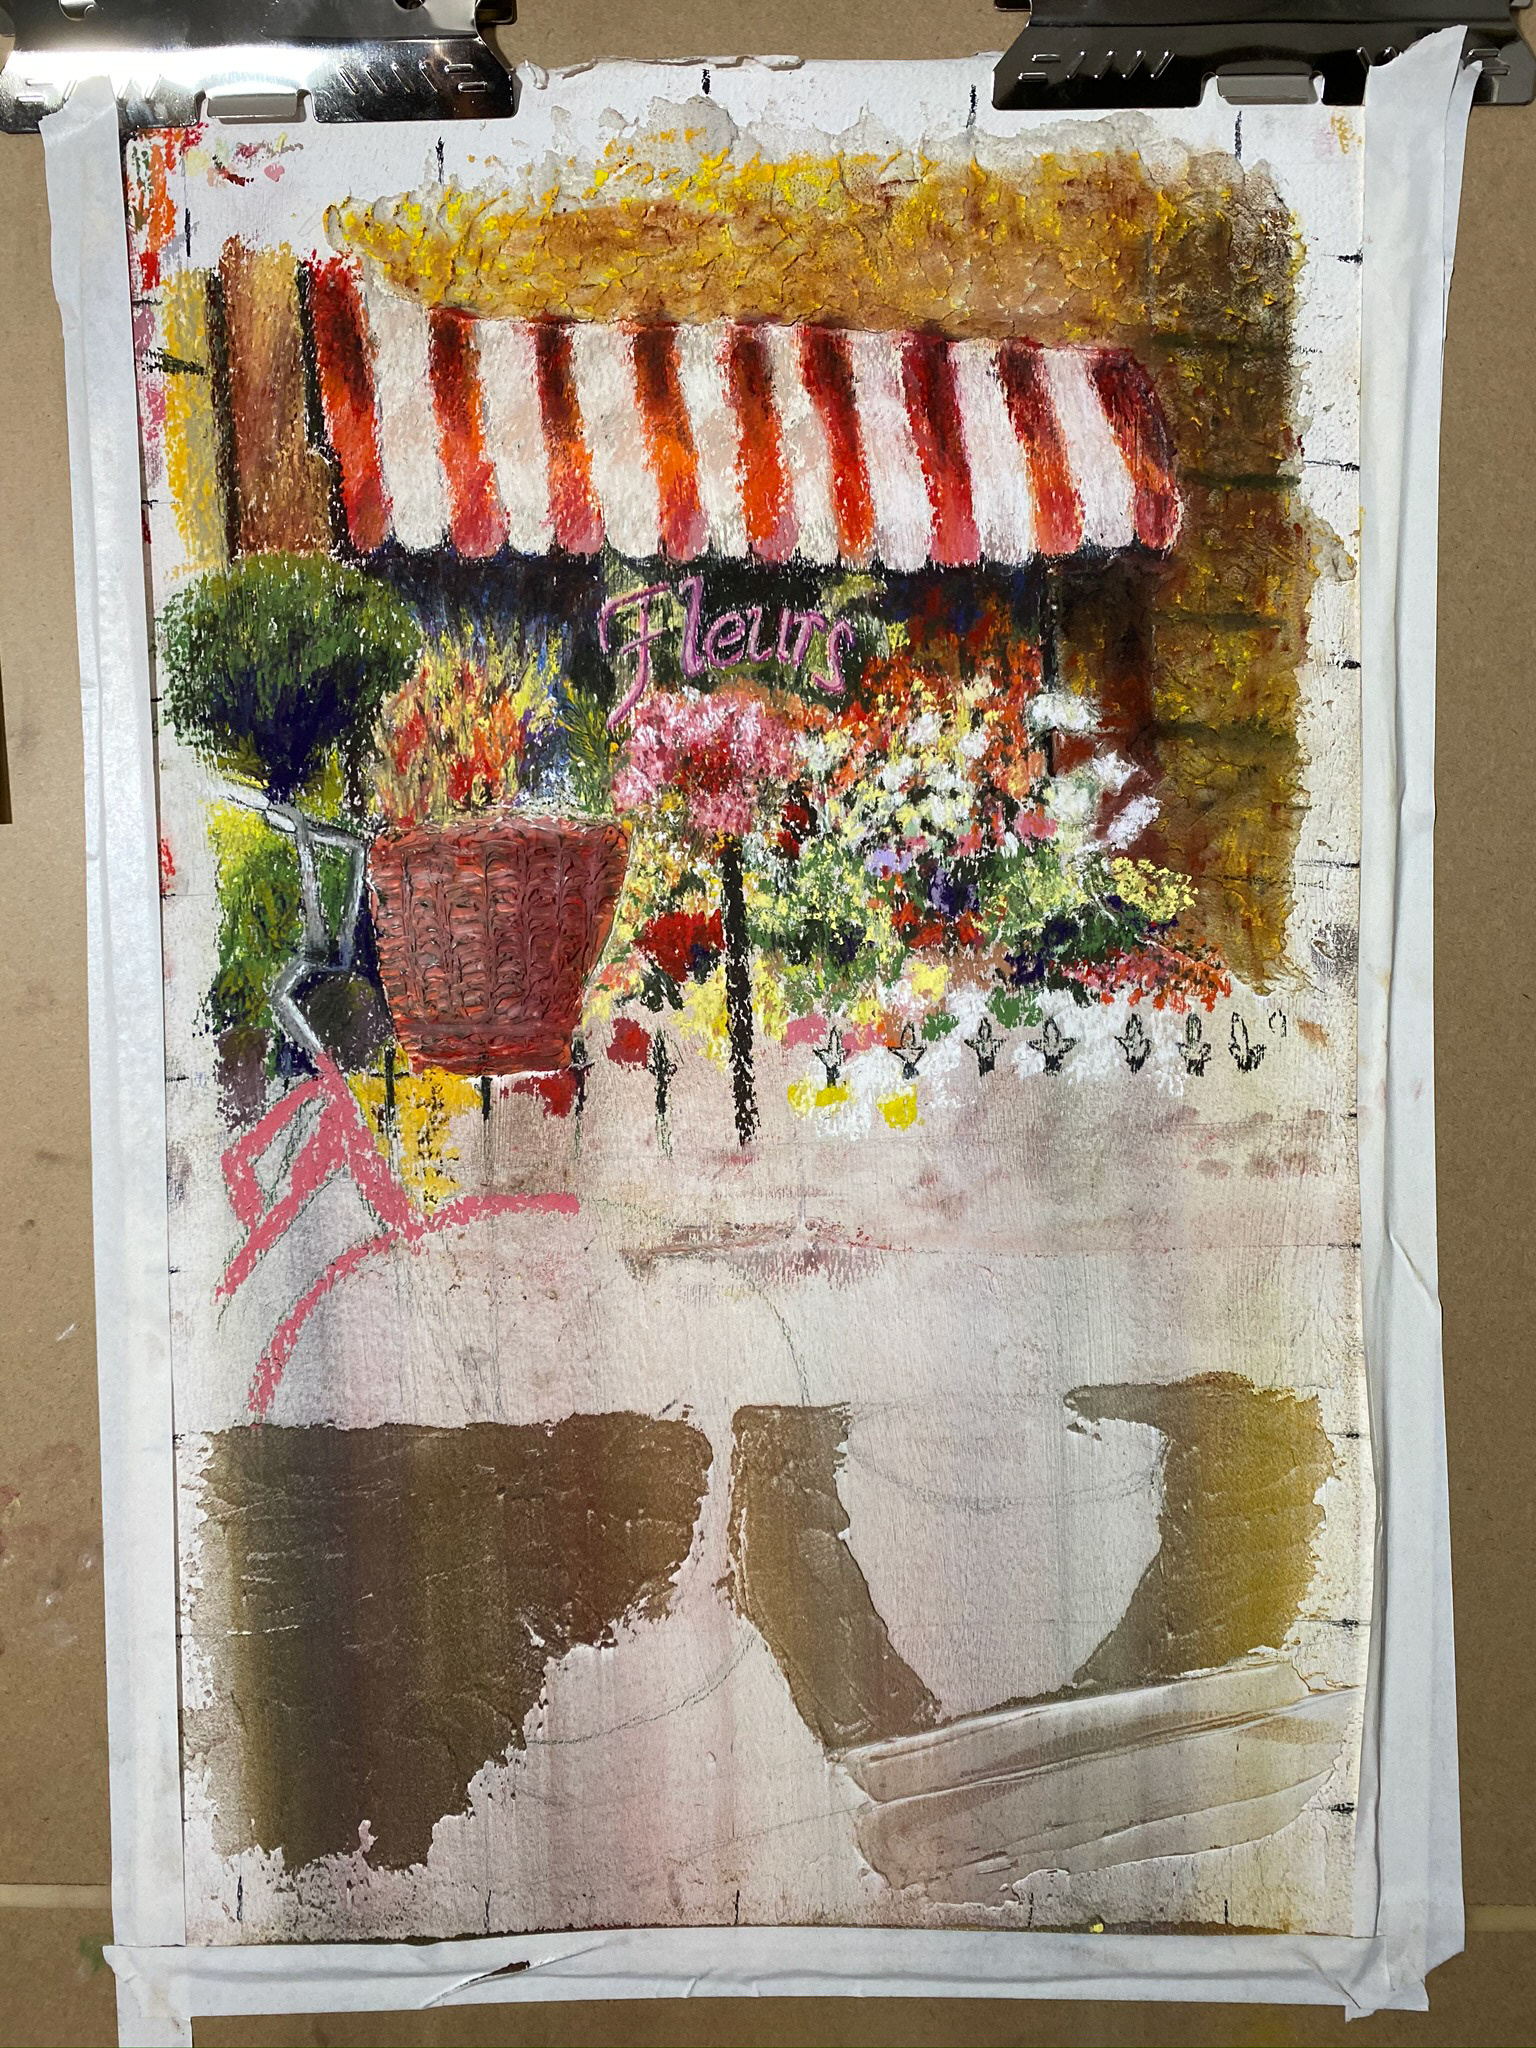
1. To prime the surface, Gesso the paper white with a wide brush and let dry. (Put something heavy on top of the paper to prevent curling.)
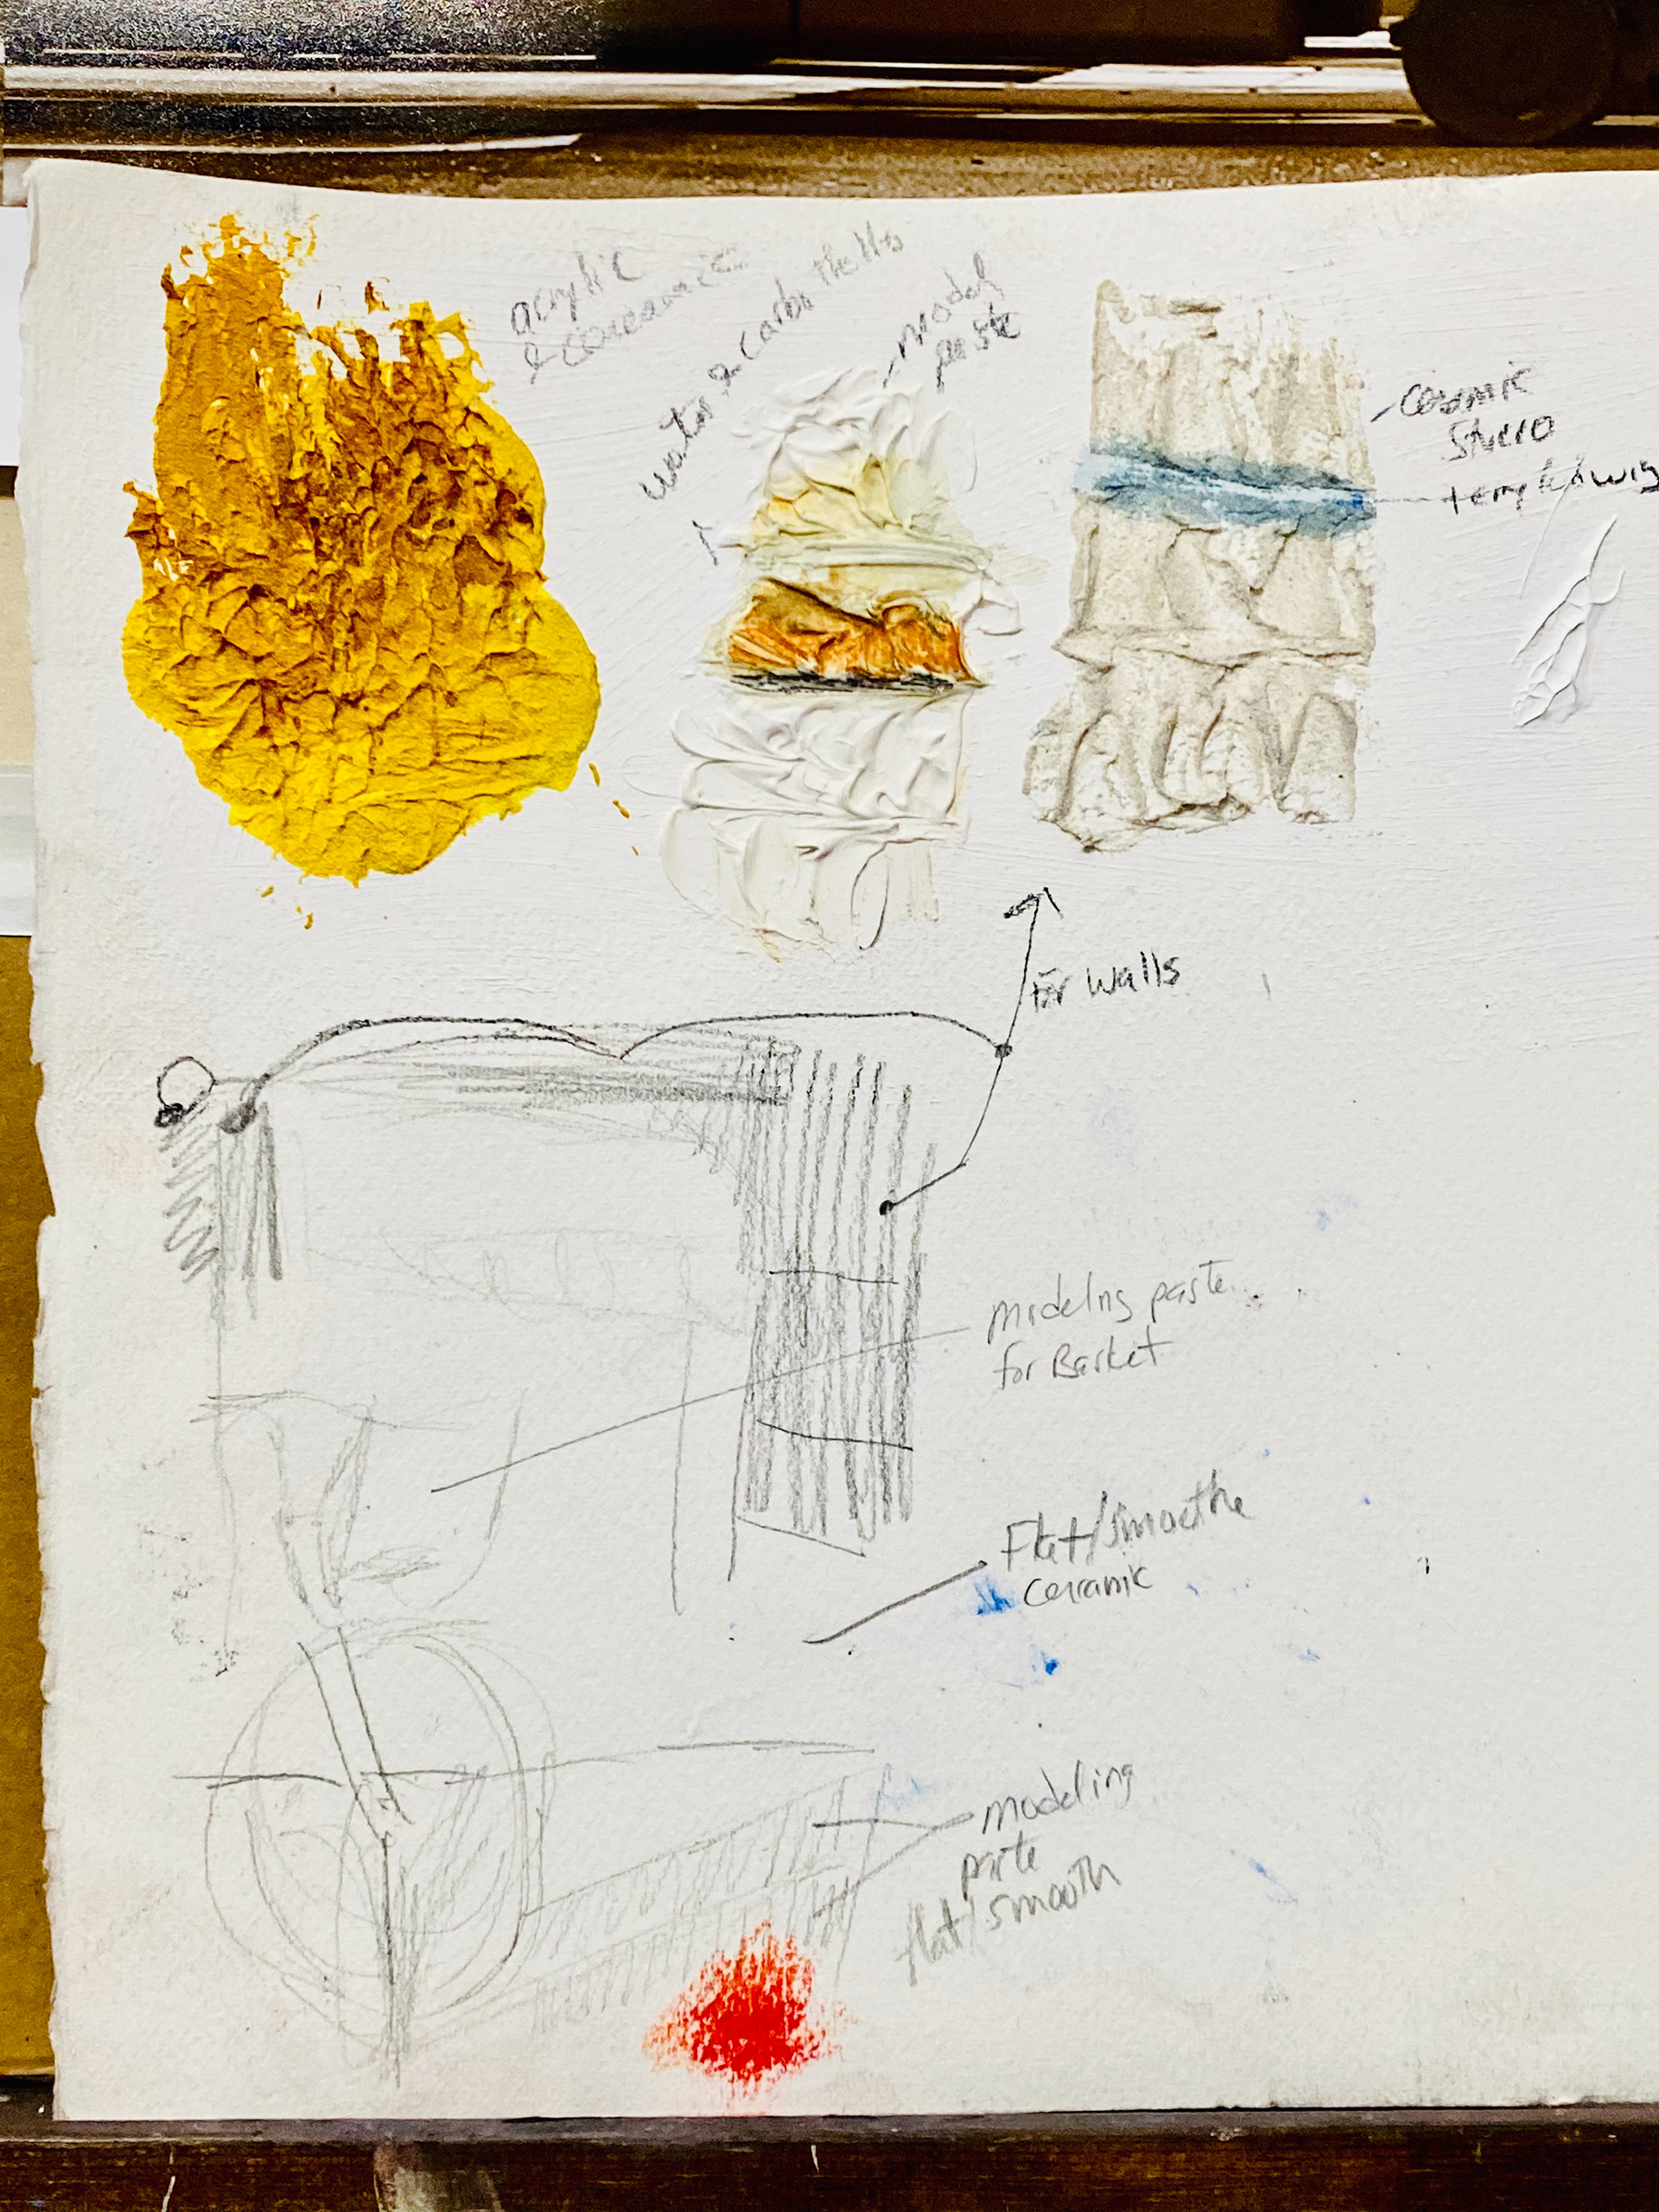
2. Grid and pencil sketch out the drawing
3. Apply ceramic stucco to the walls and floor for a gritty texture
4. Apply modeling paste to the bicycle basket and bottom right box for a smooth 3D texture
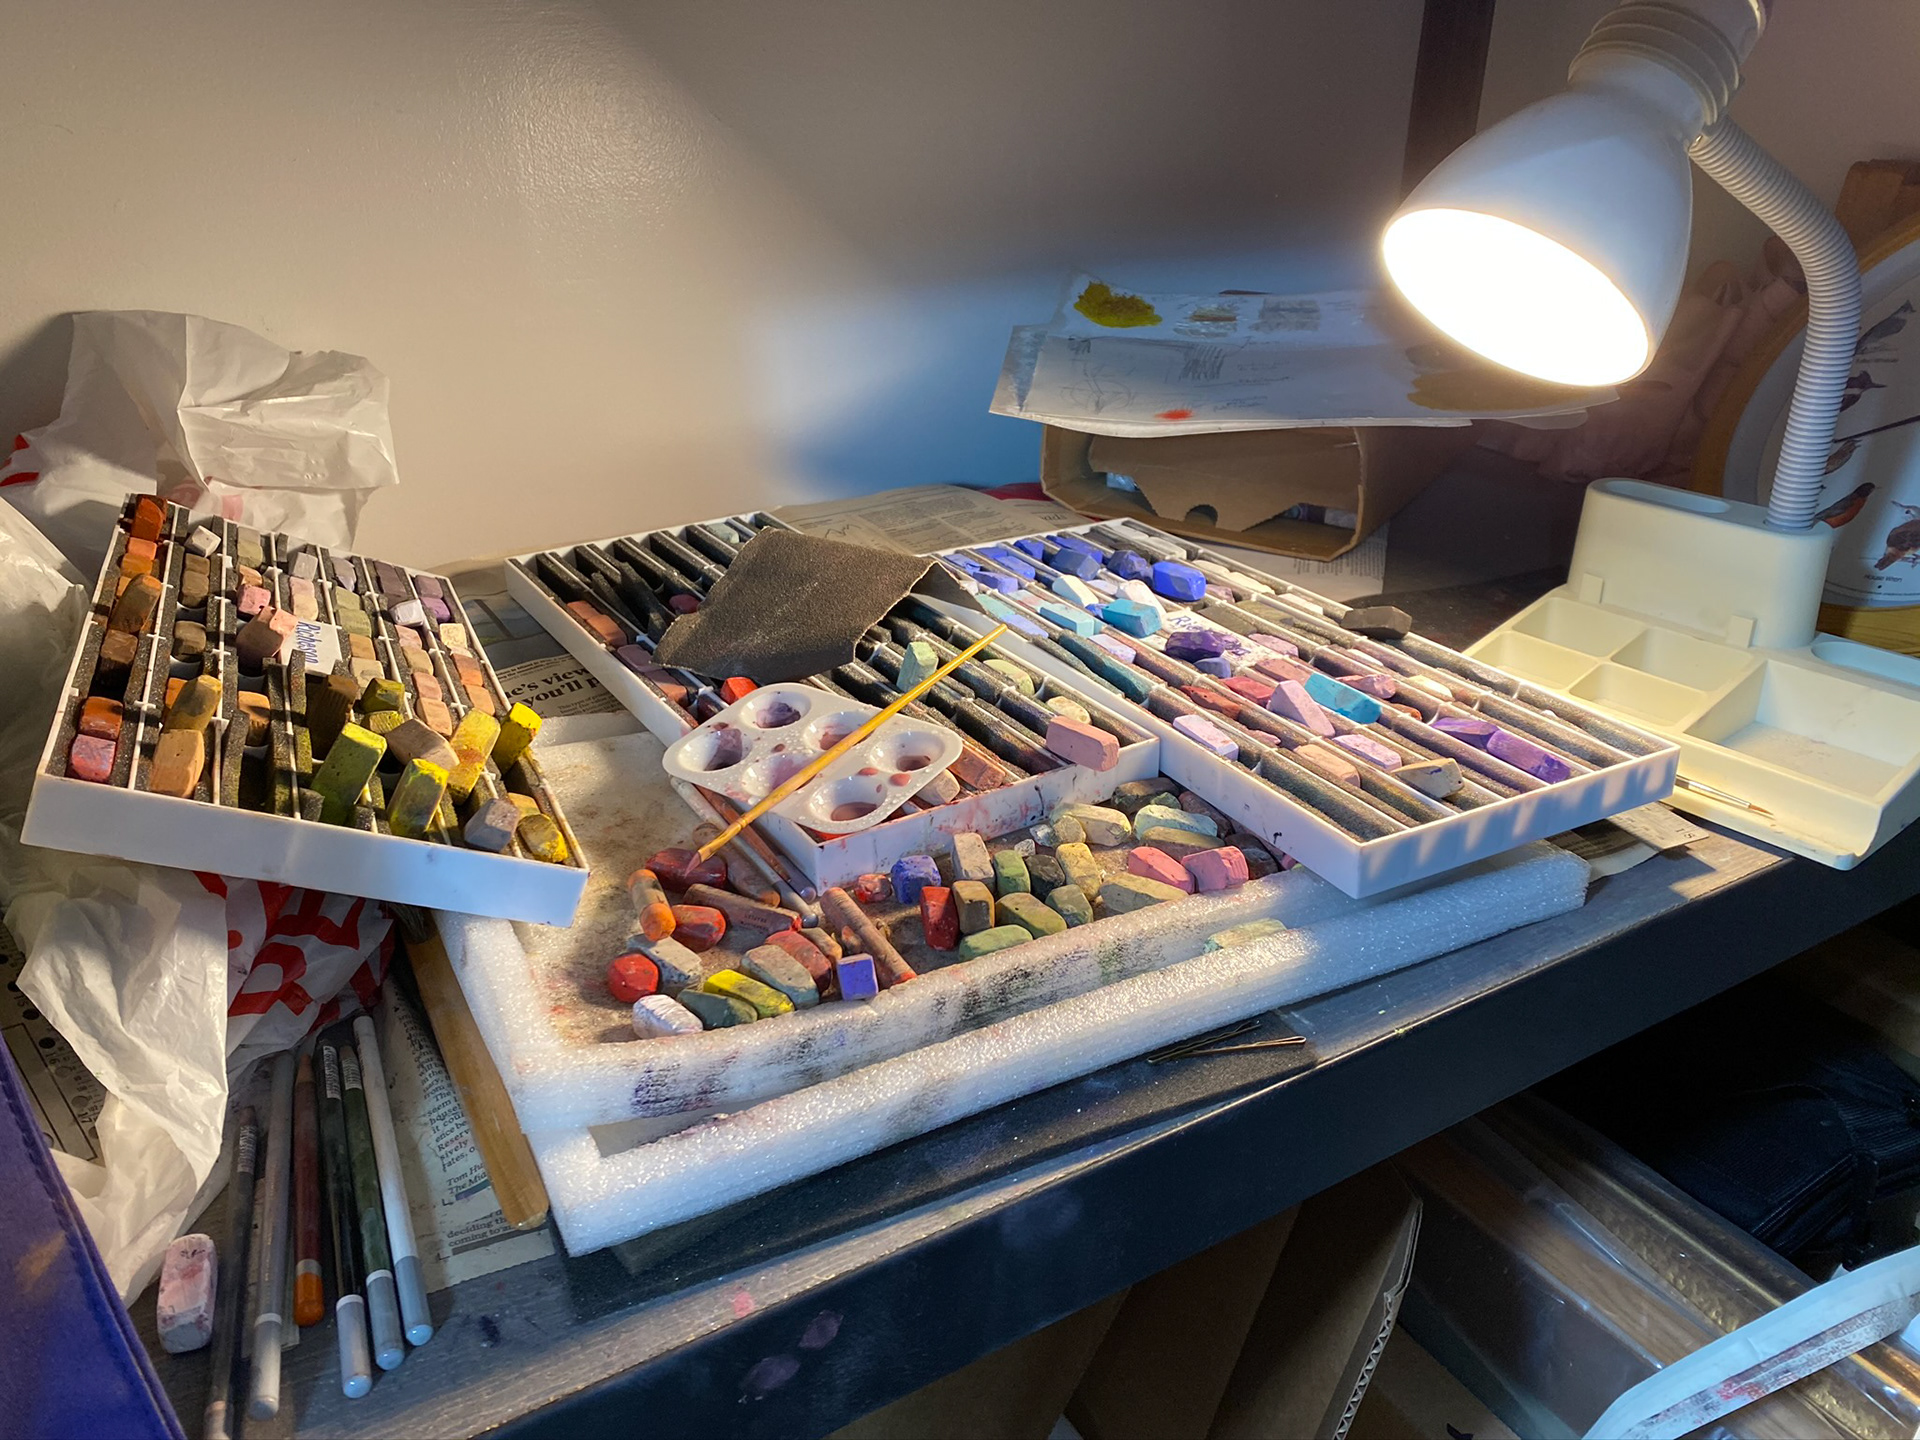
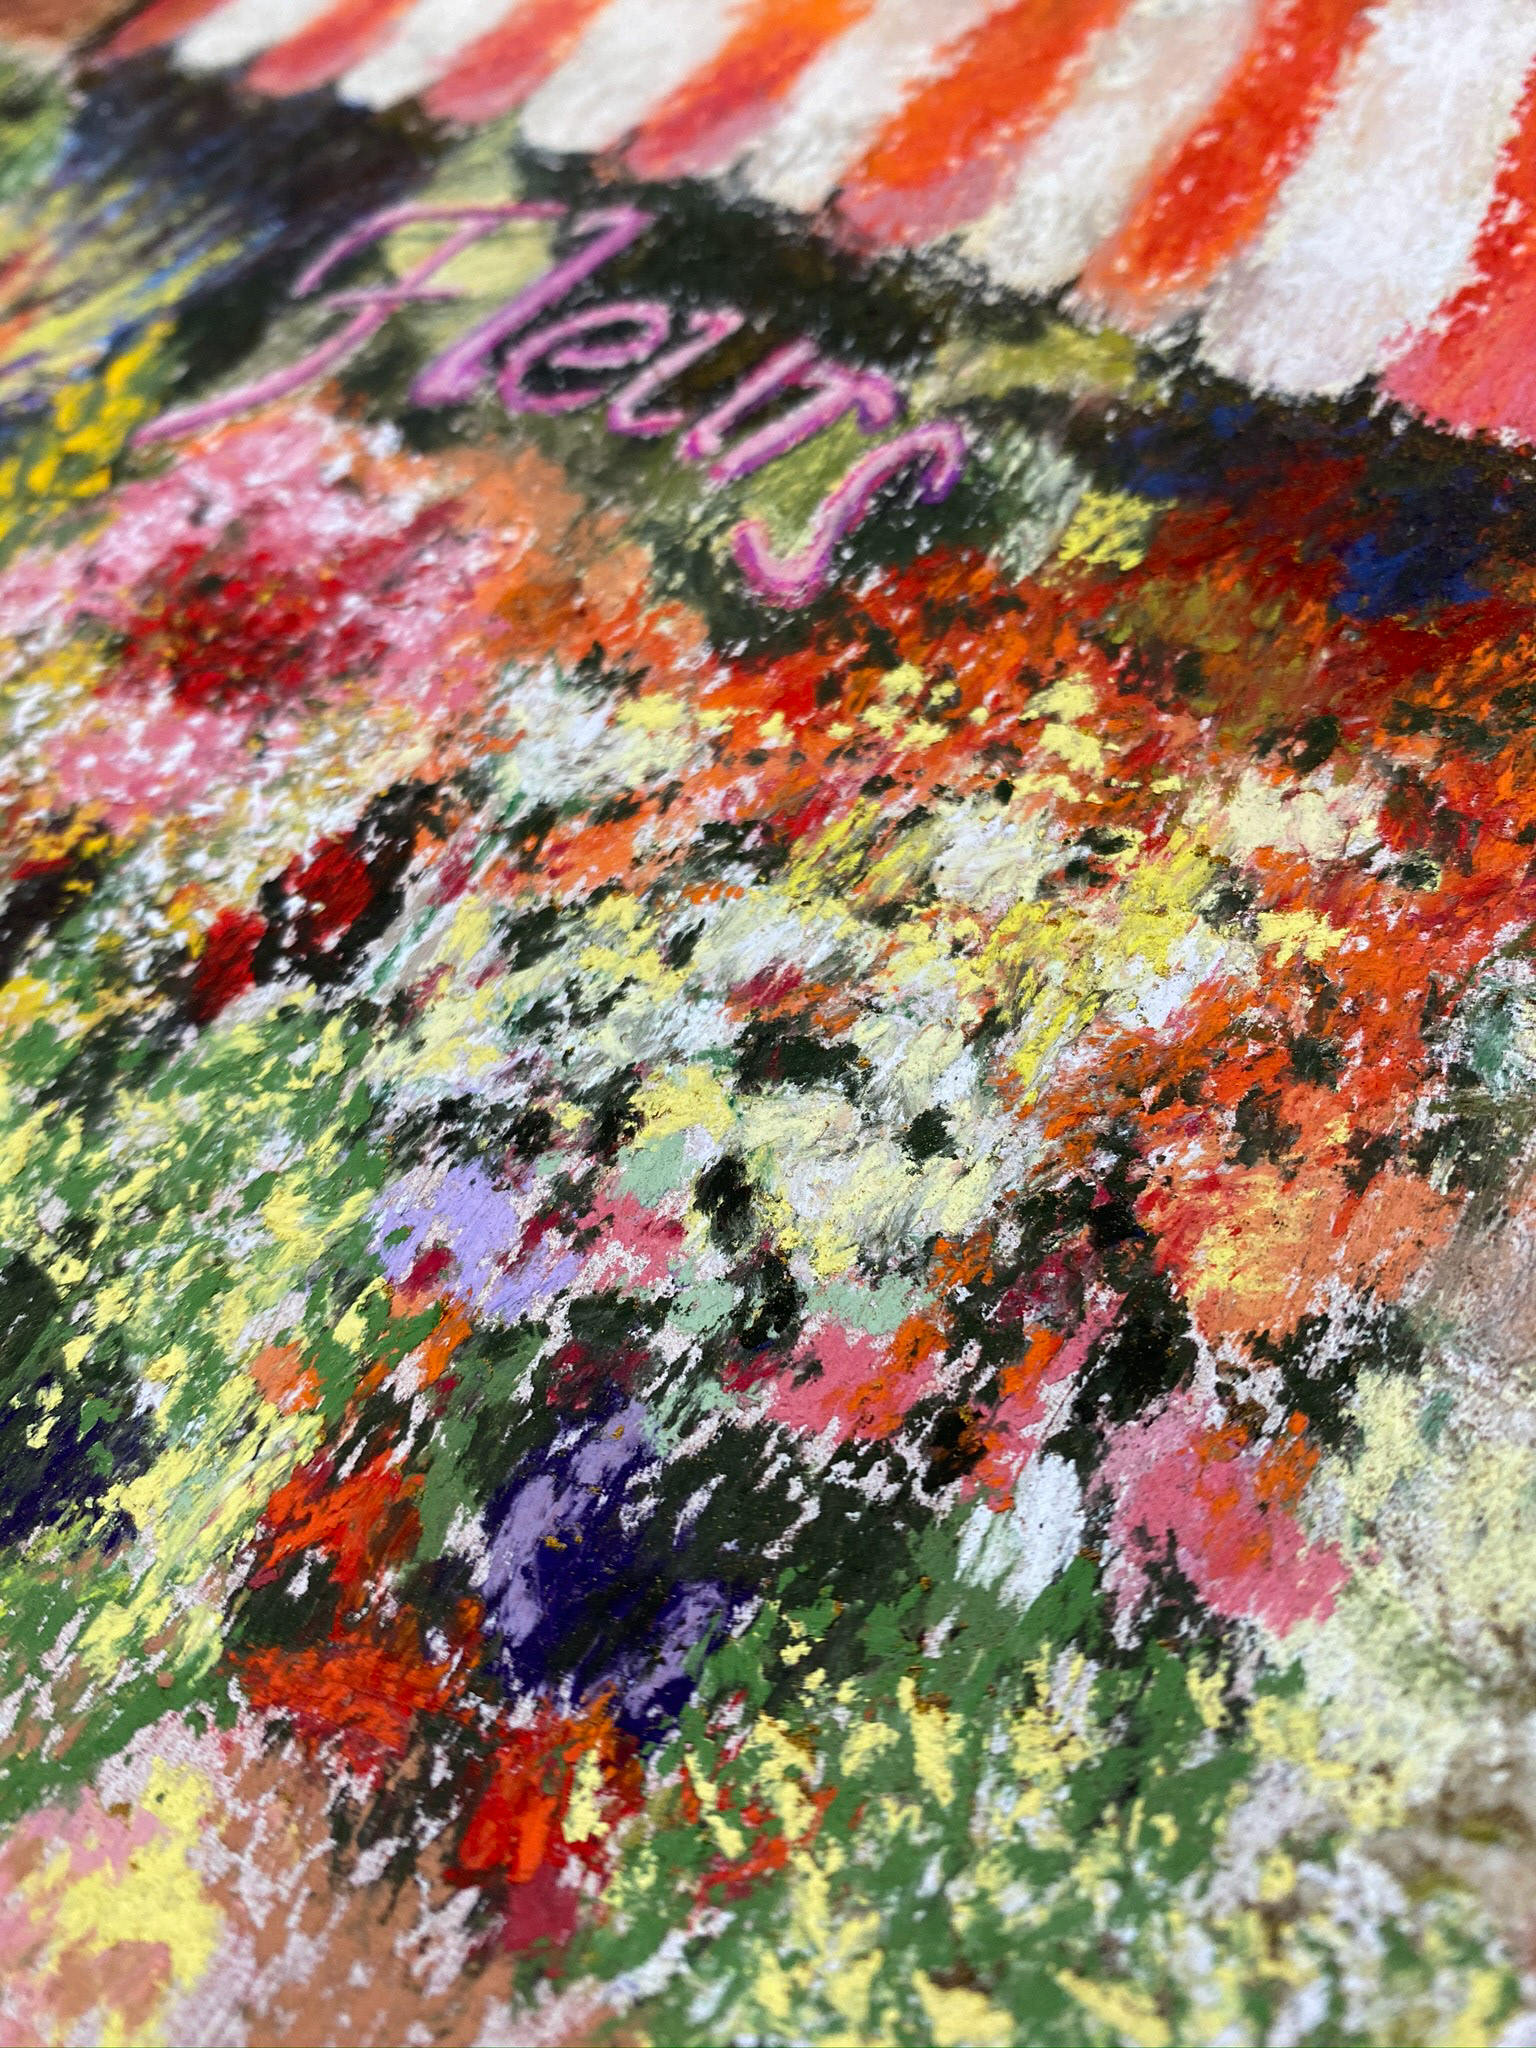
5. Let all dry and begin to apply pastels
Tool wise, I wrist-flicked a palette knife to both textures looking to achieve some height. (At one point, I had to ask my hubby for sandpaper to remove a small area.) Using the blunt end of a small wooden paint brush, I drew the deep lines into the basket. With that same brush, but wet, I used its bristles to darken and reinforce shadows of the pastels inside the basket. And yes - you can add water to pastels to my surprise!
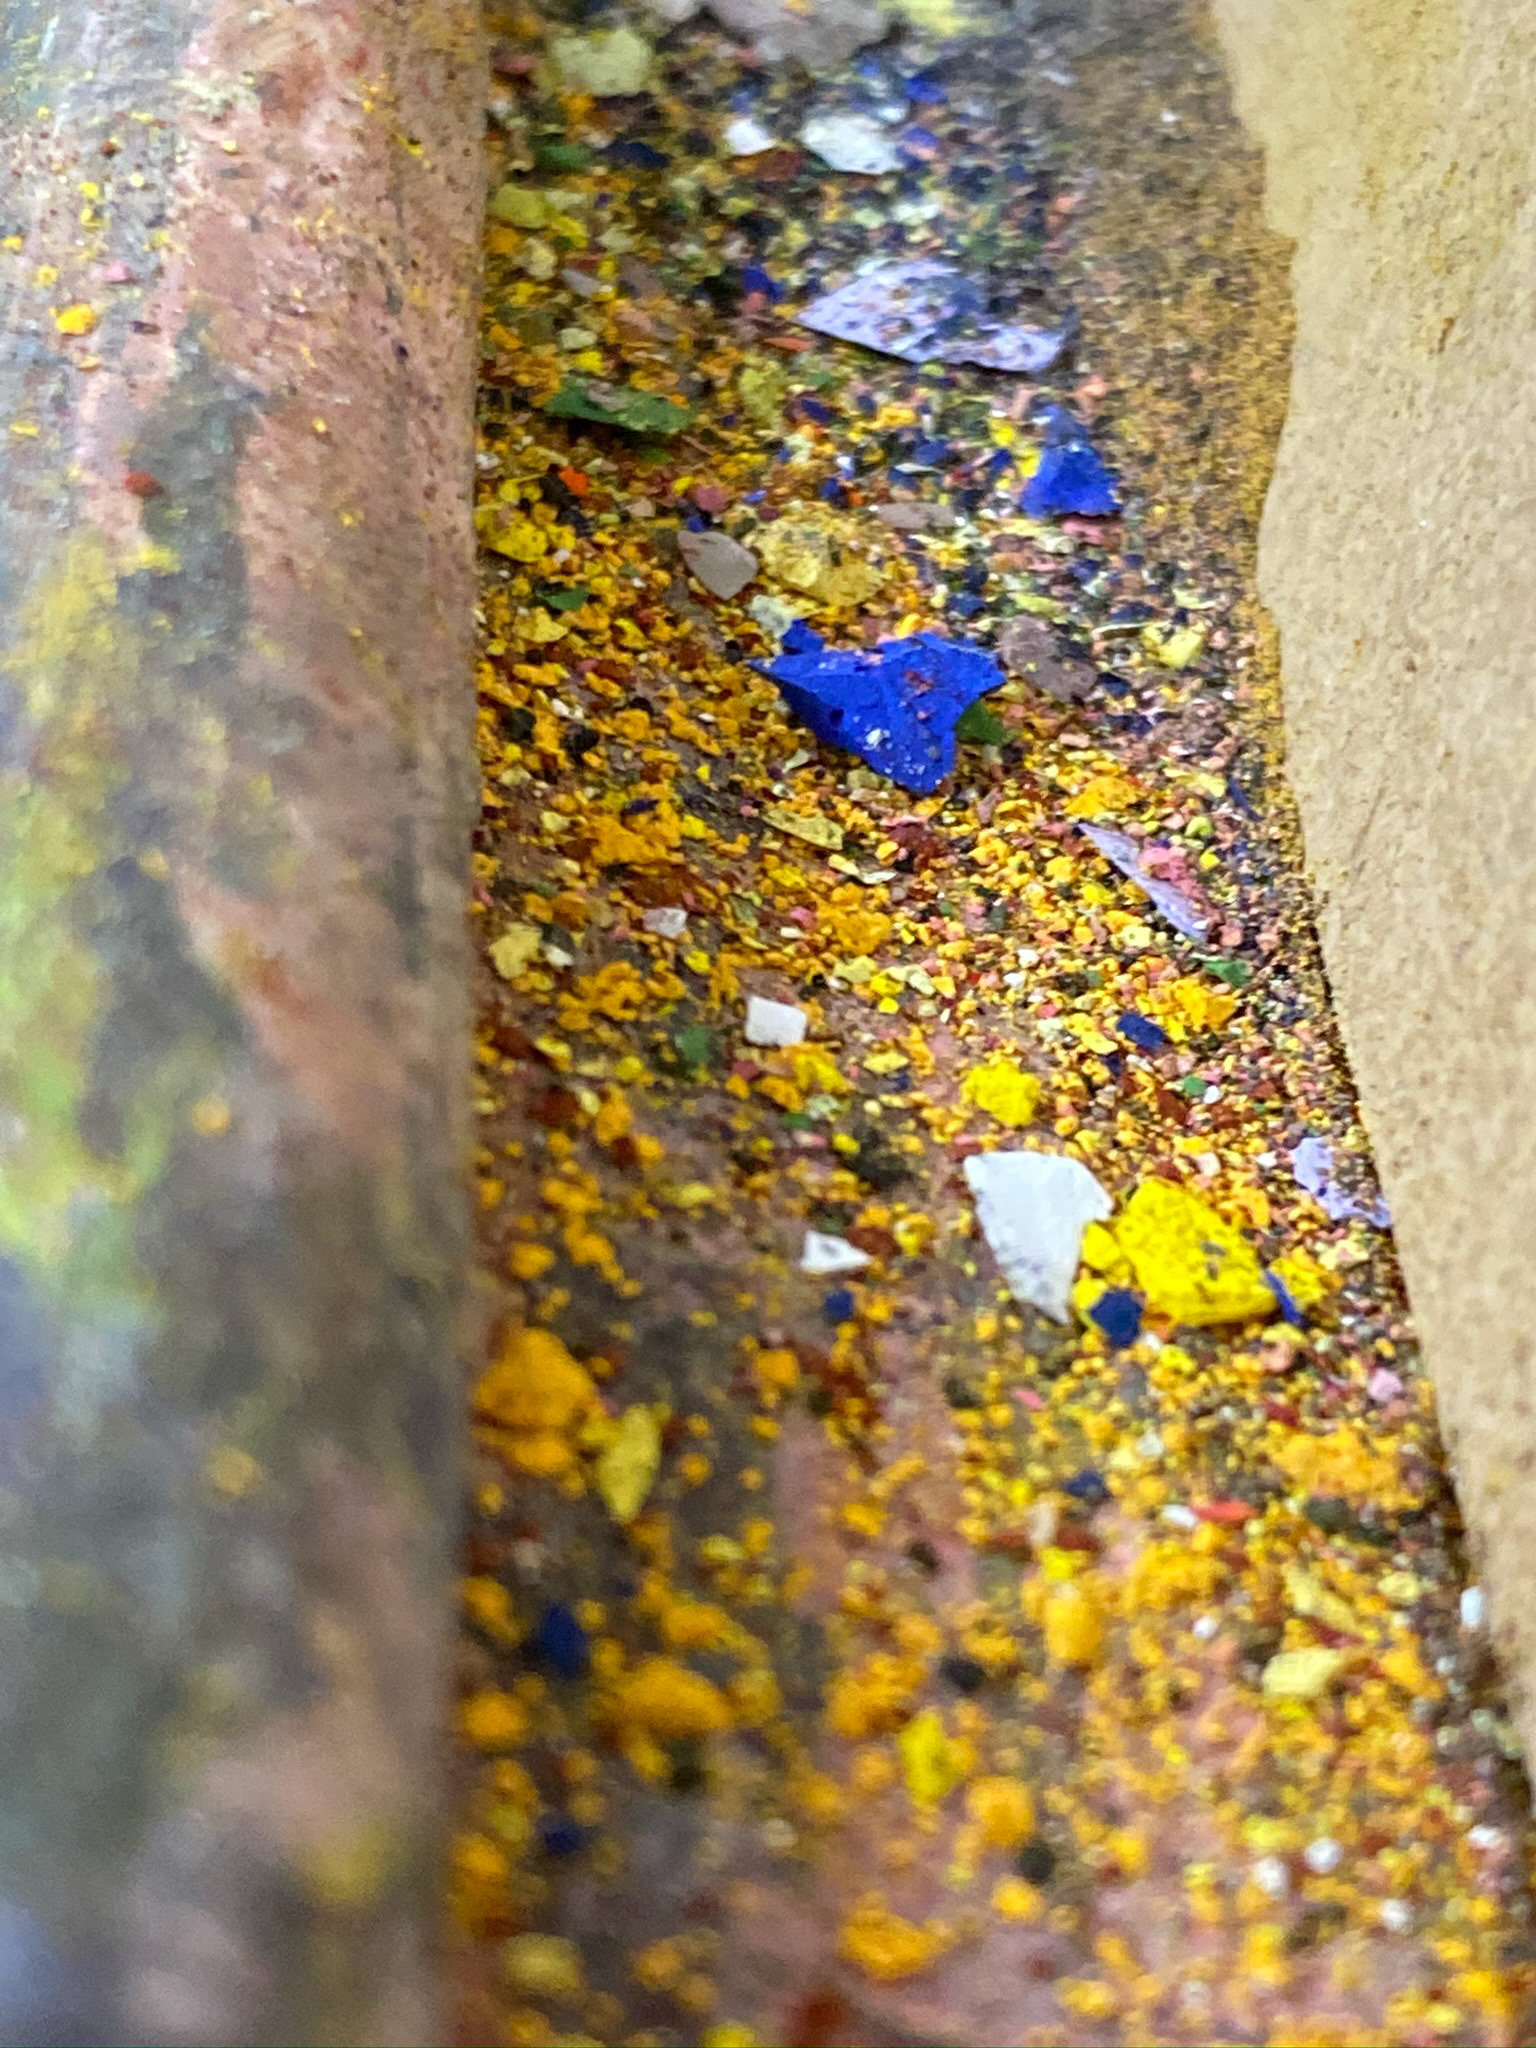
Another one bites the dust!
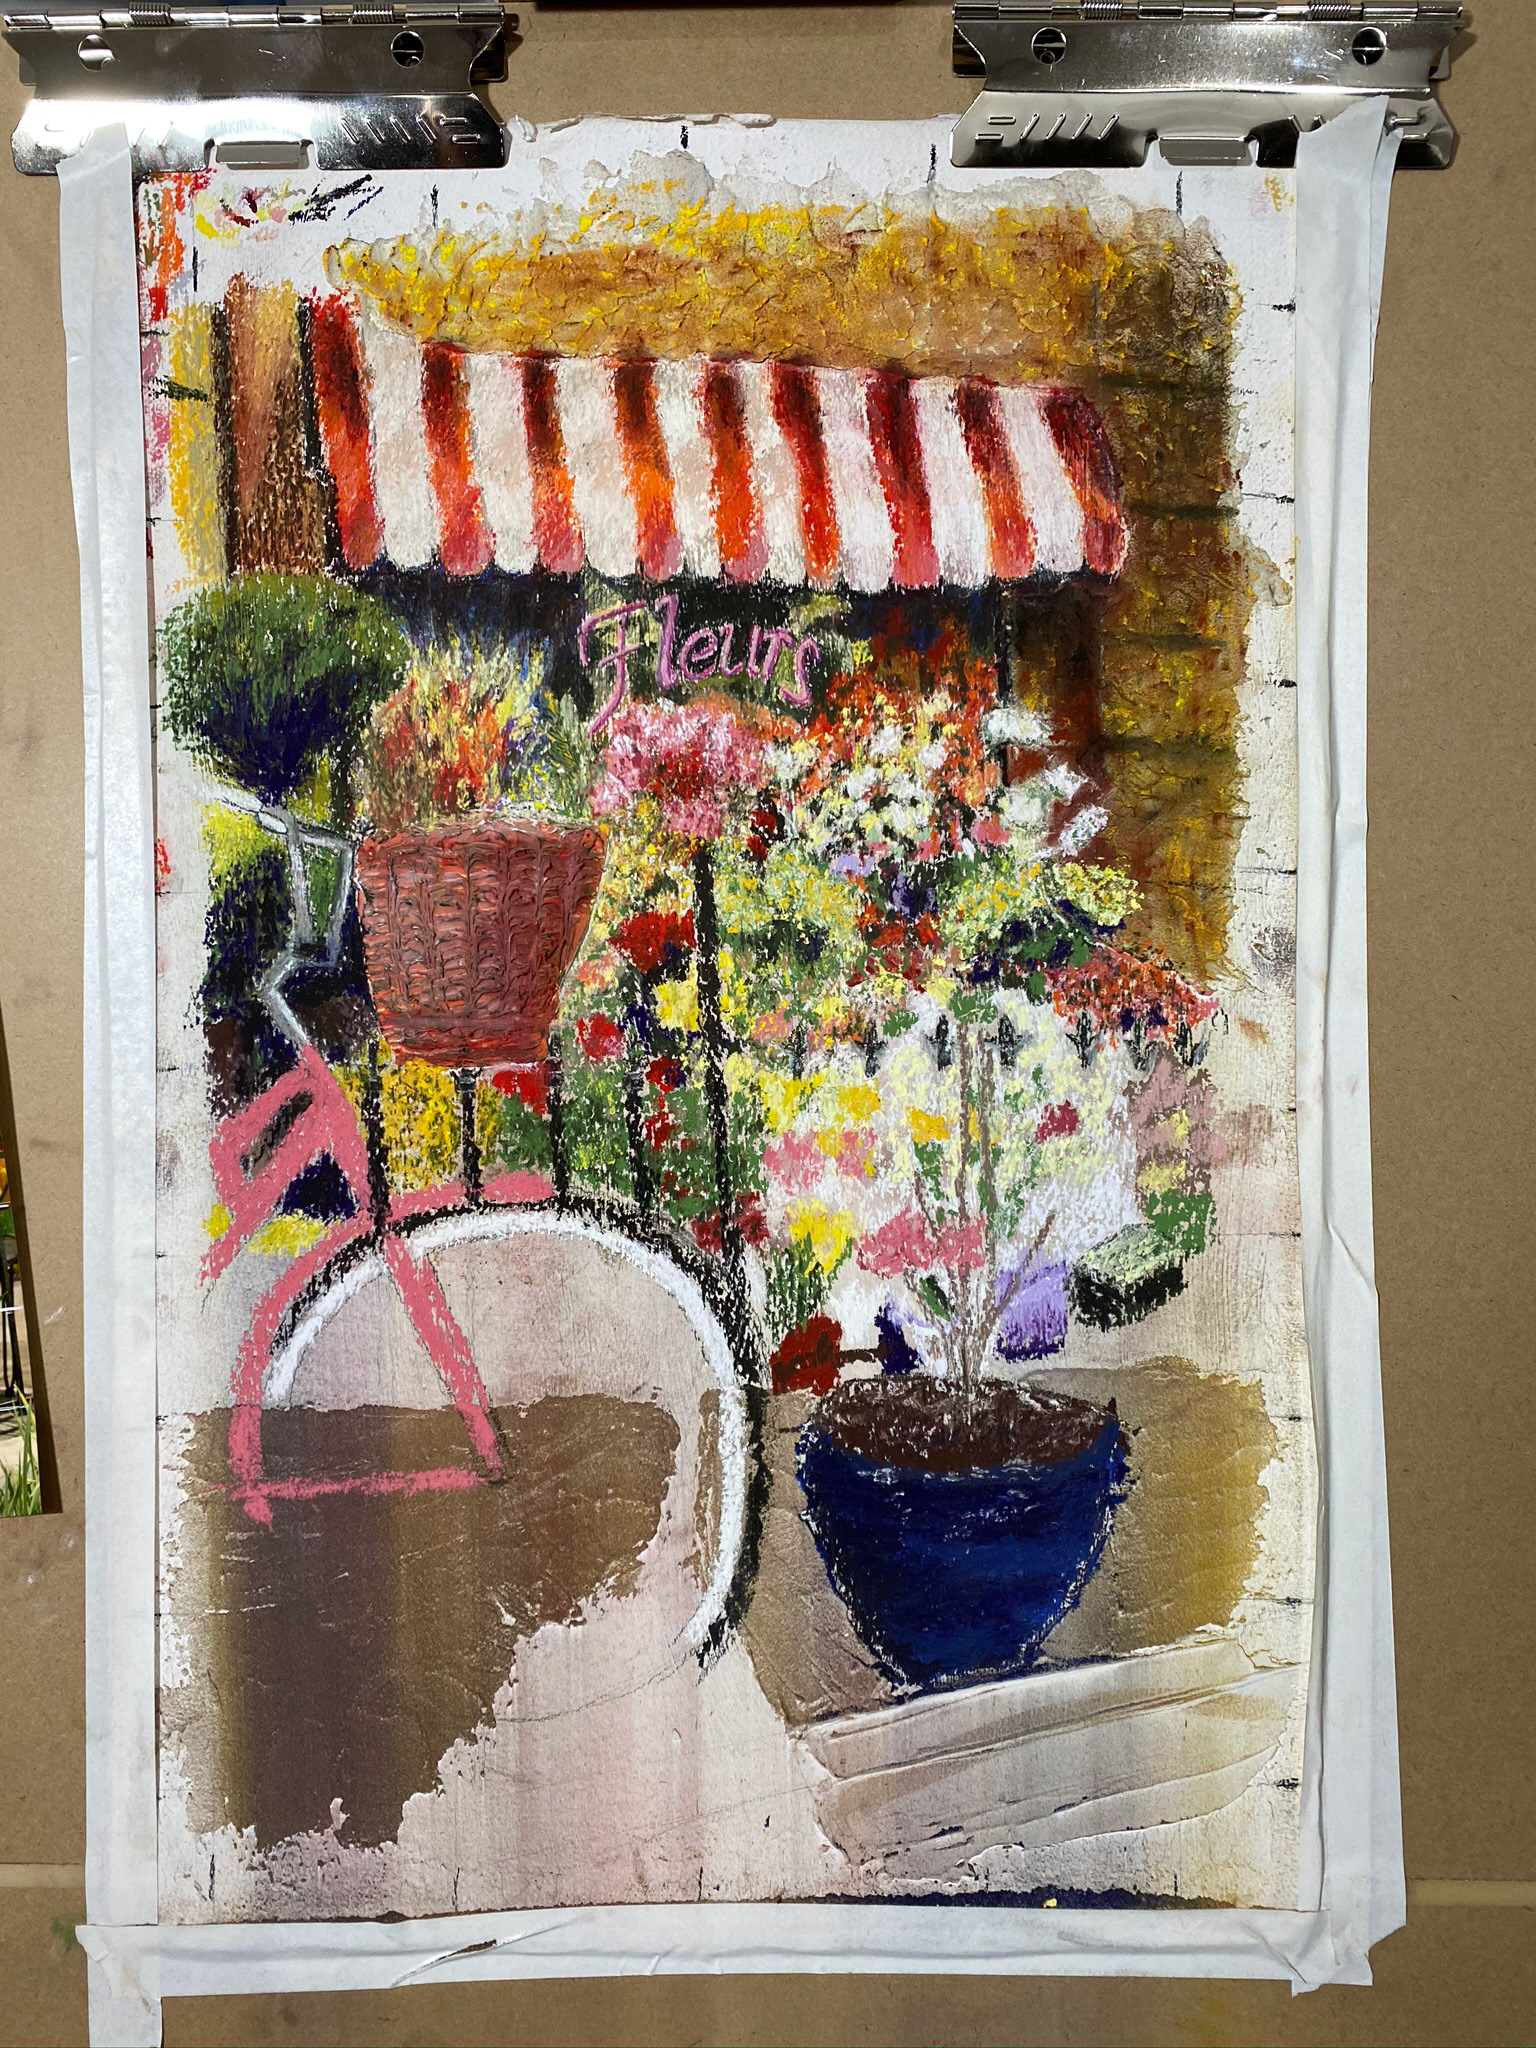
These are the foggy aftereffects of finishing the French Bicycle painted in pastels.
That attached flowing white ribbon helps me determine a straight line when pulled tight to see where to crop.
Next time, I am going to experiment and save all that dust with enough water to make one big pastel!